Filter data in dashboards
Dashboard filters are dynamic controls that allow you to modify query parameters across one or multiple widgets in real time. By using filters, you create a placeholder that accepts user input to adjust the scope of an investigation, such as time range, entity, or process, without editing the underlying query logic. This makes dashboards context-aware and interactive.
Example
Instead of hardcoding a specific username in a query, you use a filter variable. When you view the dashboard, you can enter any username, and all widgets referencing that filter will update instantly.
Create filters
To implement a filter, you must reference it in your query, using SOL Language, with the question mark syntax: ?filter_name
Note
Learn how to create query in our article dedicated to the Query Builder.
All the filters appear automatically in the dashboard, allowing users to modify them and instantly refresh the results.
Predefined vs. Custom filters
- Predefined filters: Built-in variables like
?time.startand?time.endthat control the global time range of the dashboard. - Custom filters: User-defined variables (e.g.,
?entity_uuid,?process_name) that target specific attributes.
Query with Filters
The following example demonstrates a query using both predefined time filters and custom logic filters.
events
| where timestamp between (?time.start .. ?time.end)
| where entity_uuid == ?entity_uuid
| where process.name == ?process_name
In this example:
?time.startand?time.endare predefined time filters?entity_uuidand?process_nameare custom filters defined by the query author
Apply filters to all widgets in the dashboard to synchronize changes
The primary benefit of filters is synchronization. When multiple widgets use the same filter name (e.g., ?process_name), they share the same input control. You can pin a filter to a dashboard to make sure that changing the value in one location updates every widget listening for that specific variable.
How to pin a filter
To pin a filter to a dashboard:
- Navigate to the dashboard you wish to modify.
- Select Edit dashboard to enter the edit mode.
- Locate the widget containing the filter you want to share.
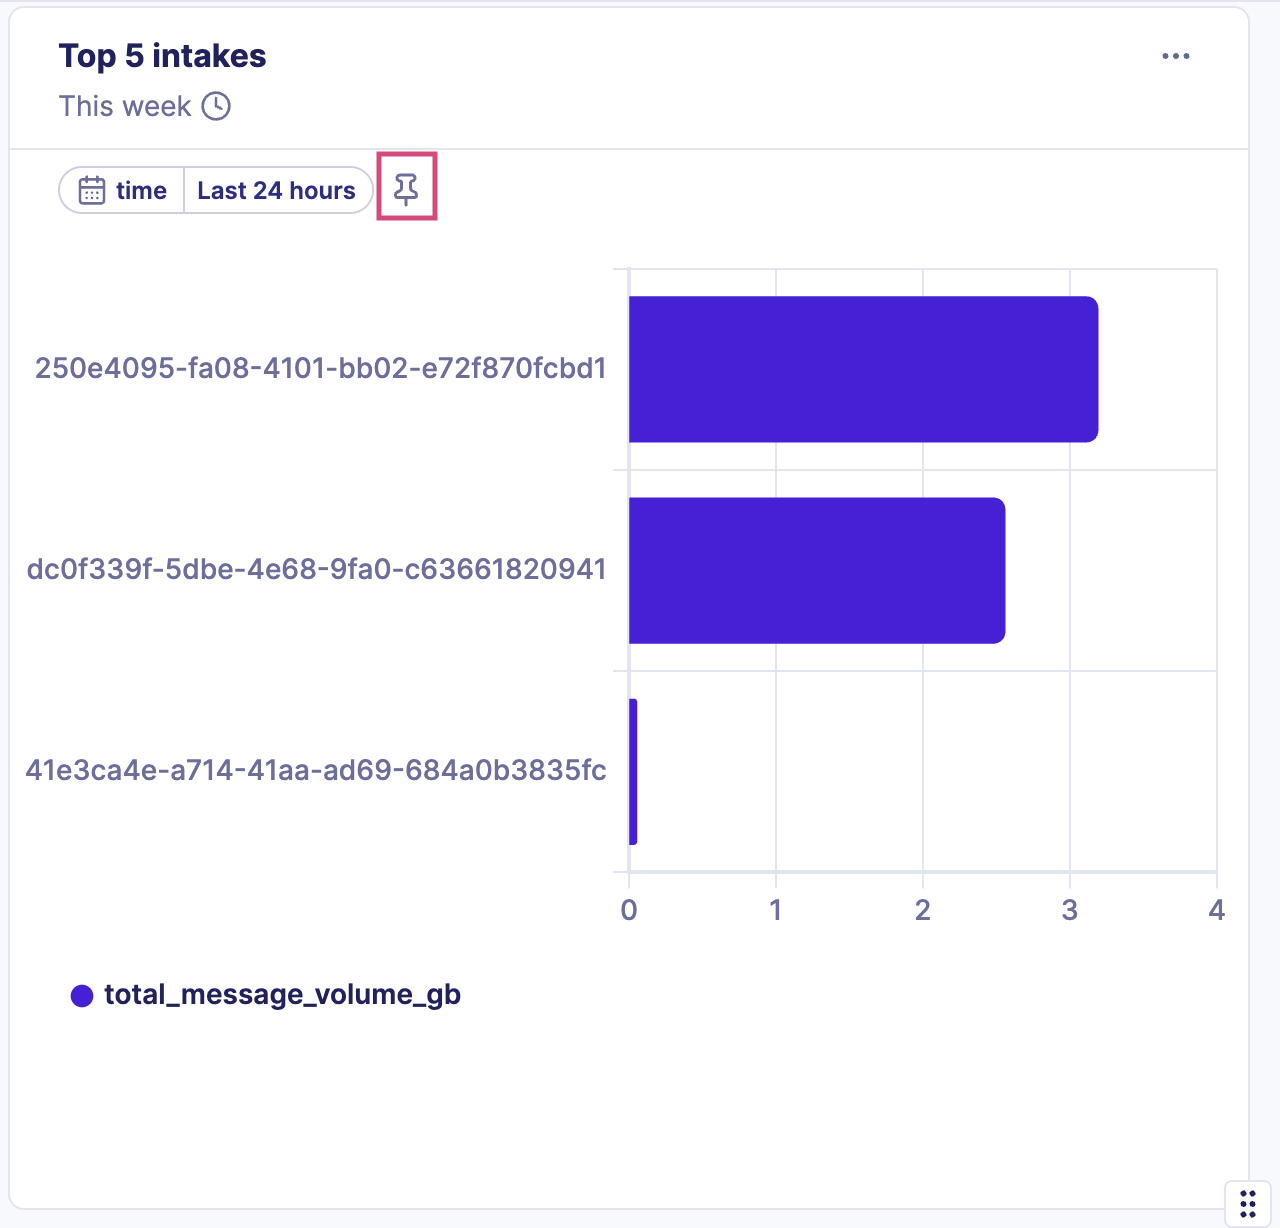
- In the widget panel, select the Pin icon next to the specific filter name.
- To exit edit mode, click Save.
Note
Once pinned, the filter appears at the top of the dashboard as a shared input control. You can unpin it at any time.
Behavior of pinned filters
- A pinned filter automatically synchronizes all widgets using the same filter name.
- When a user changes the pinned filter’s value, all linked widgets refresh instantly.
- If a widget uses a filter that isn’t pinned, it retains its own local filter configuration.
- Unpinning a filter removes it from the dashboard’s filter bar but keeps widgets functional with their local values.